While Melissa was away to Japan, I might have gotten myself into another part of the D&D hobby 😅.
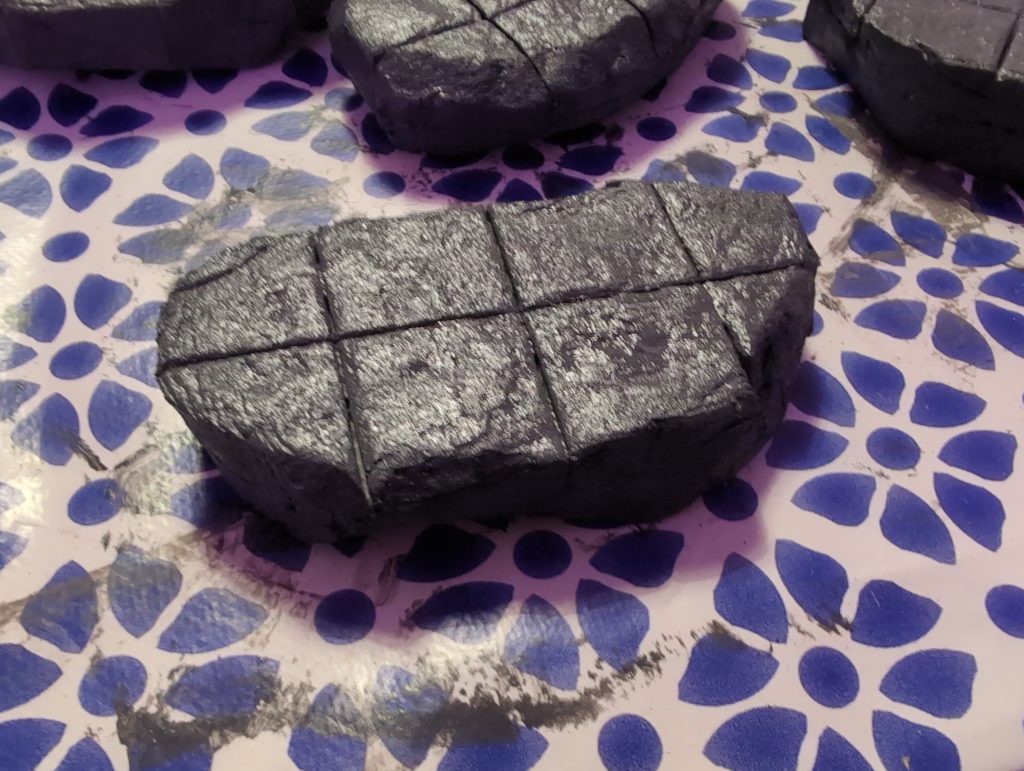
It started with some XPS foam I got at a hobby store. I followed along with some videos online about cutting and sculpting foam into rocks. Quite quick to get to a decent sculpt with as little as a small craft knife and a pencil (that’s right, mr. Wick)
To paint them I bought a children’s acrylic set from a local home-store (it came with a bunch of colours, which allowed for some very cheap experimentation), and just started messing about. It was surprisingly easy to get a decent results.
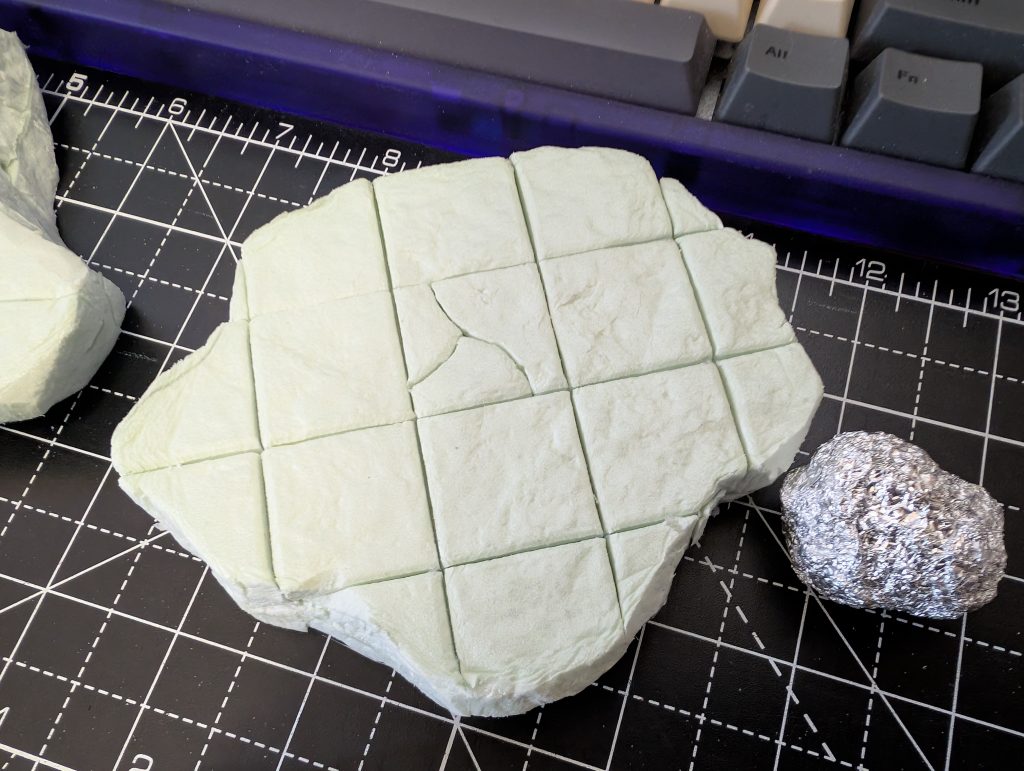
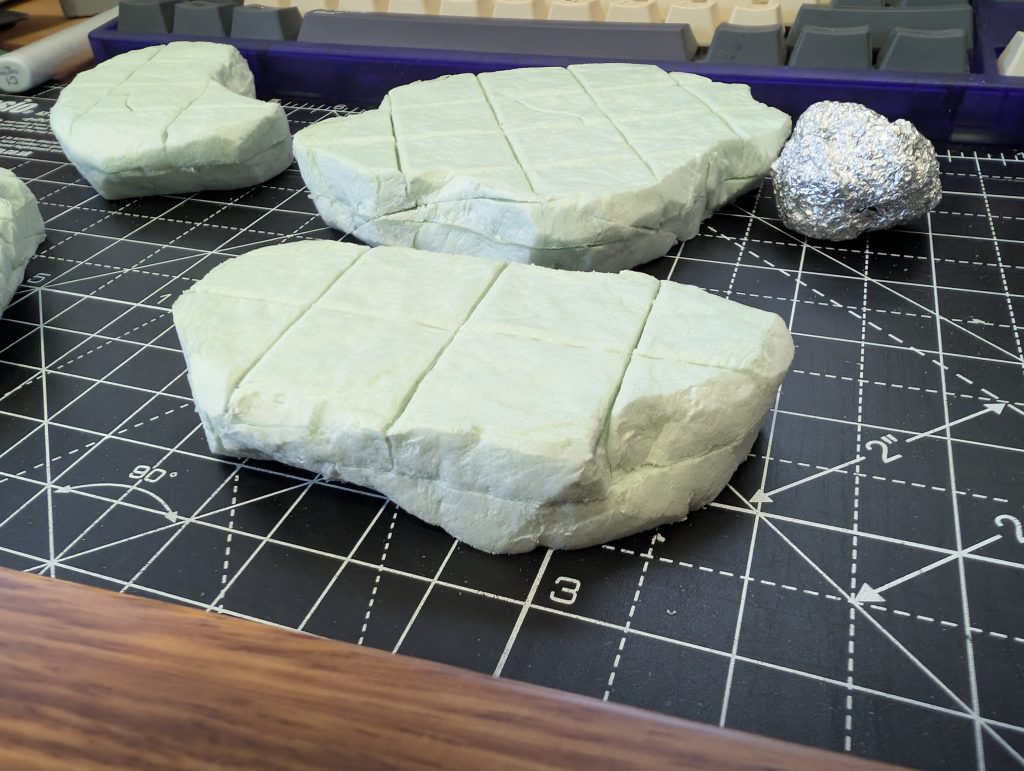
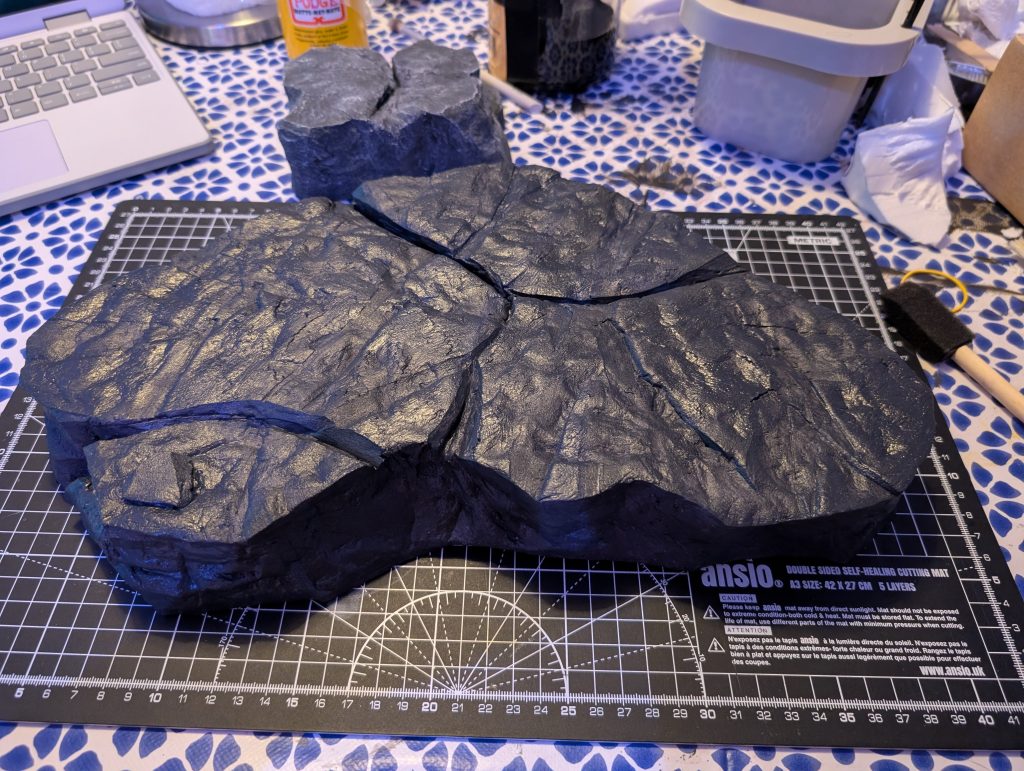
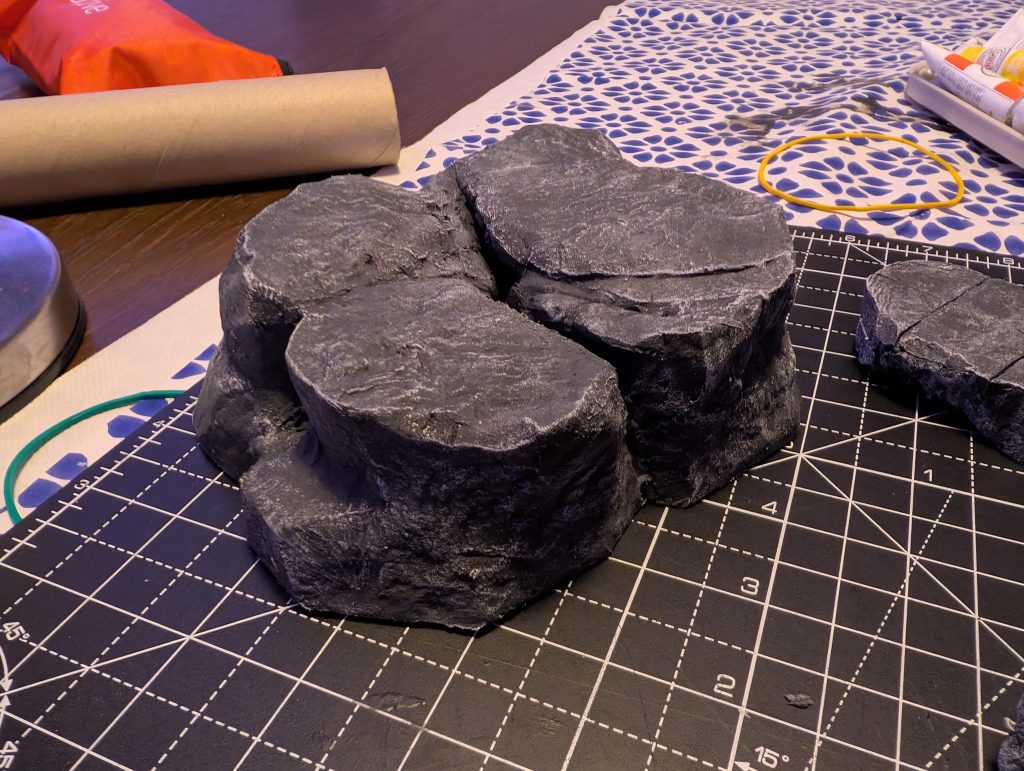
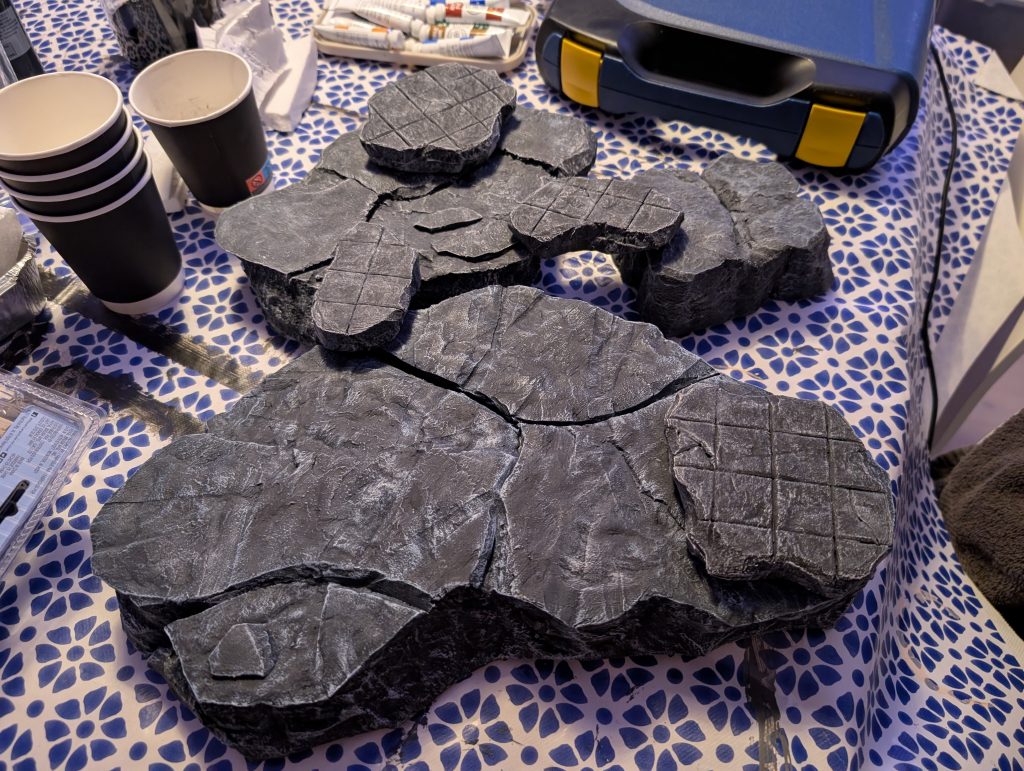
Once I got a taste, I went to my local hardware store and bought some large boards of XPS foam (which is essentially the stuff they use to insulate roofs with). This proved way more cost-effective than the tiny sheet I got from the hobby store. From these, I carved a bunch of different-sized rocks to create myself a little kit I can sprinkle in, any time the adventure calls for it.
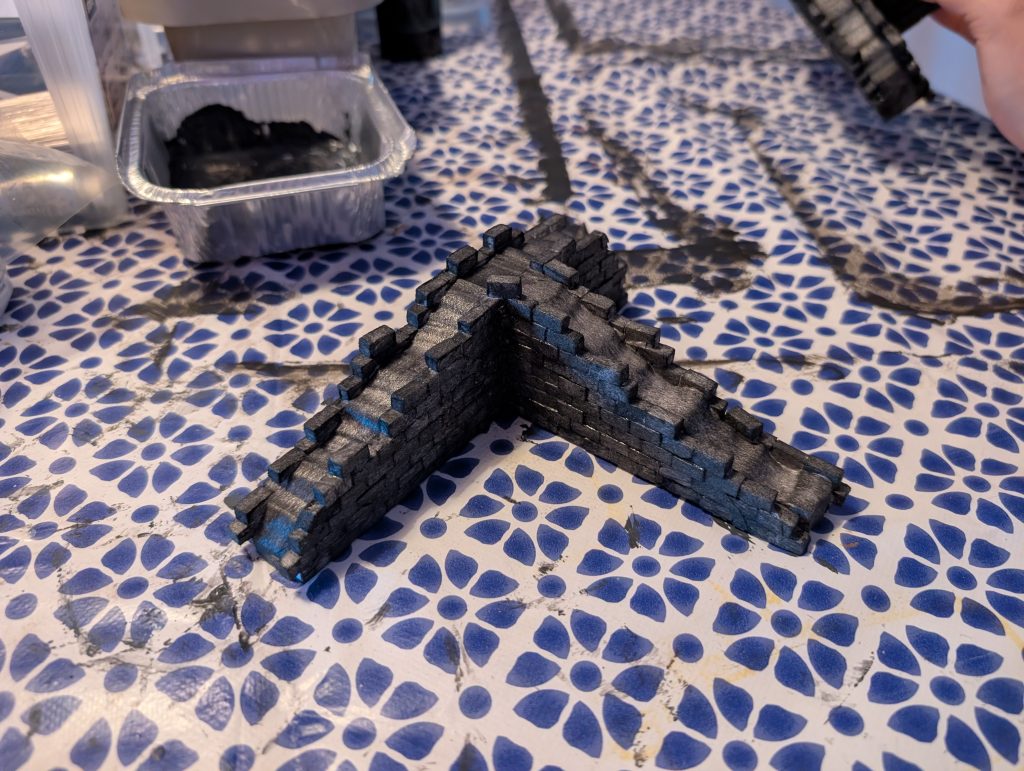
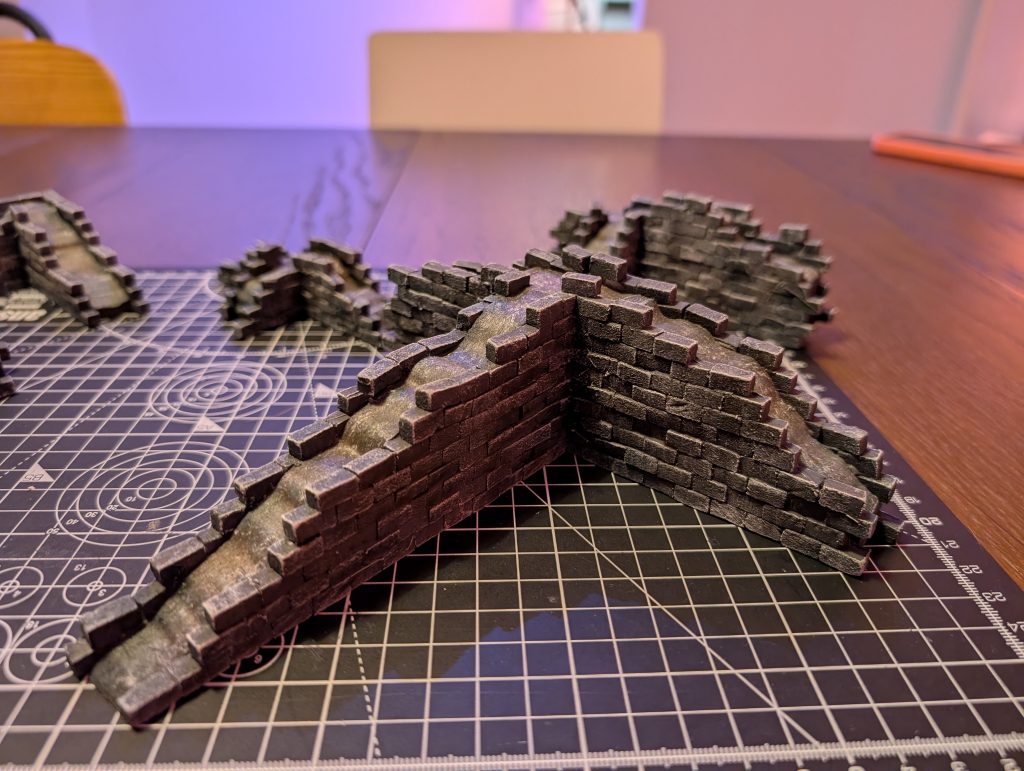
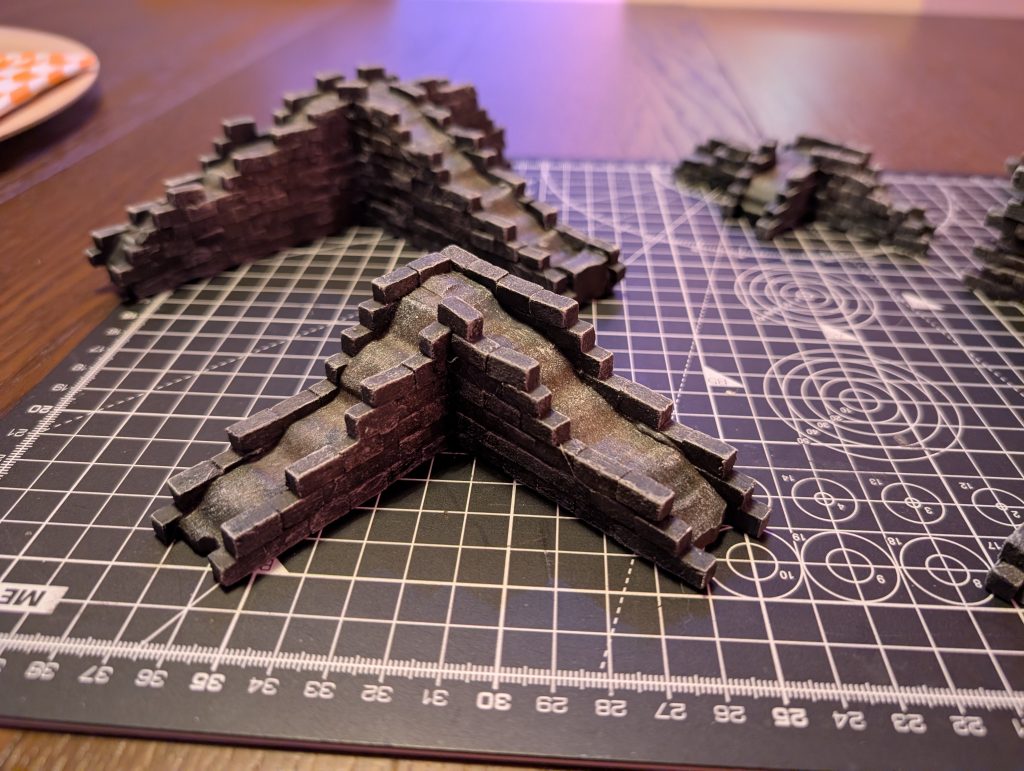
To make sure I could paint all of them, I purchased some larger tubes of acrylic paint from my local hobby store (Kreatima, for those who live in Stockholm), which were a lot less expensive than I feared (being on the periphery of the Warhammer & Miniature paint hobbies, I always dreaded the seemingly inevitable decline into yet another money-sink). At this point I knew my players would be heading into the Underdark, so my colour scheme was going to be on the darker-end (black & white to make grey, and burnt sienna for some wood elements).
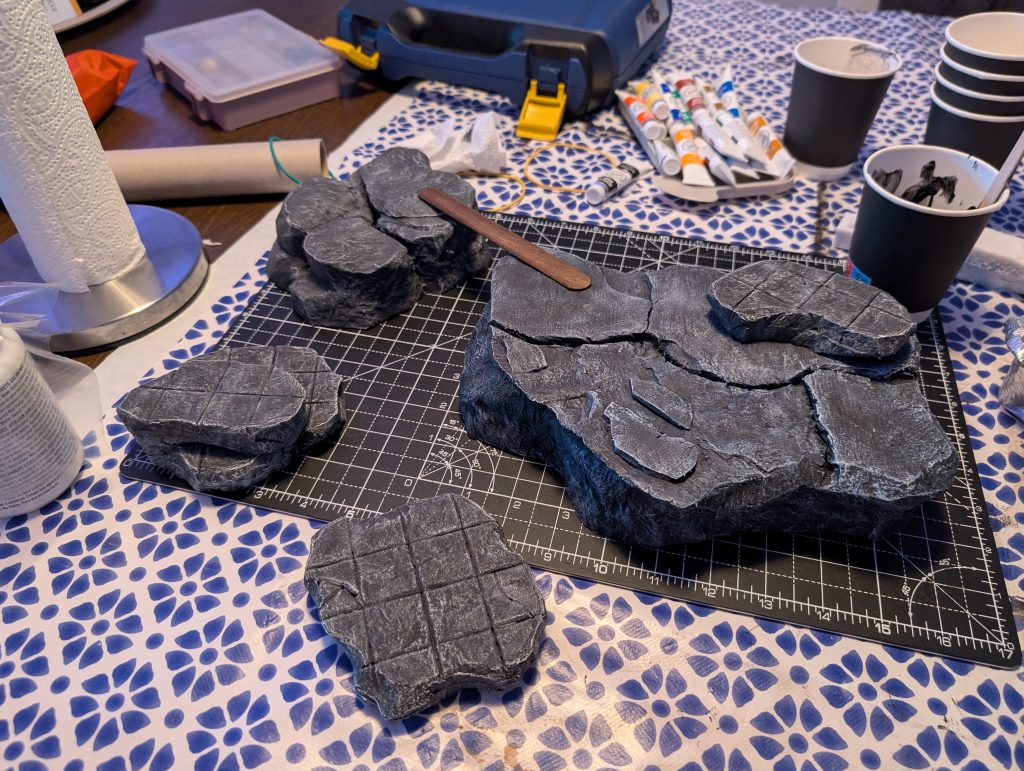
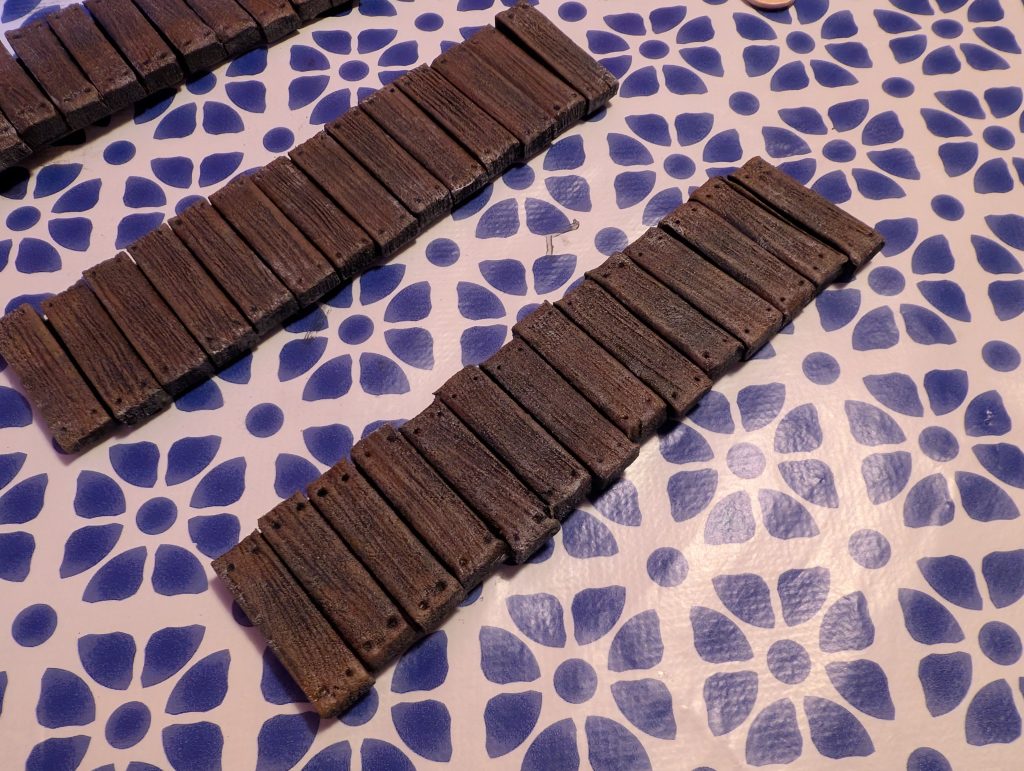
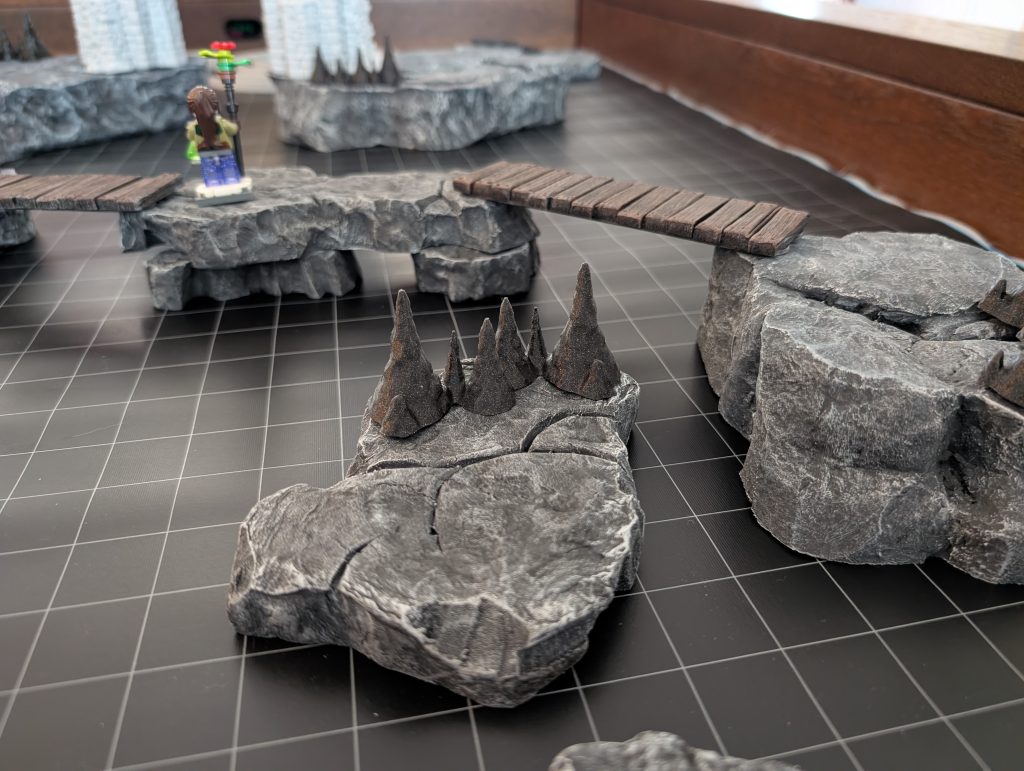
To create some crossings between the rocks I first tried staining some popsicle sticks. However, they looked a little flimsy, so I ended up creating proper walkways with a bunch of foam planks glued to two popsicle sticks instead. Cutting the woodgrain by dragging a metal-wire brush across the foam worked a treat!
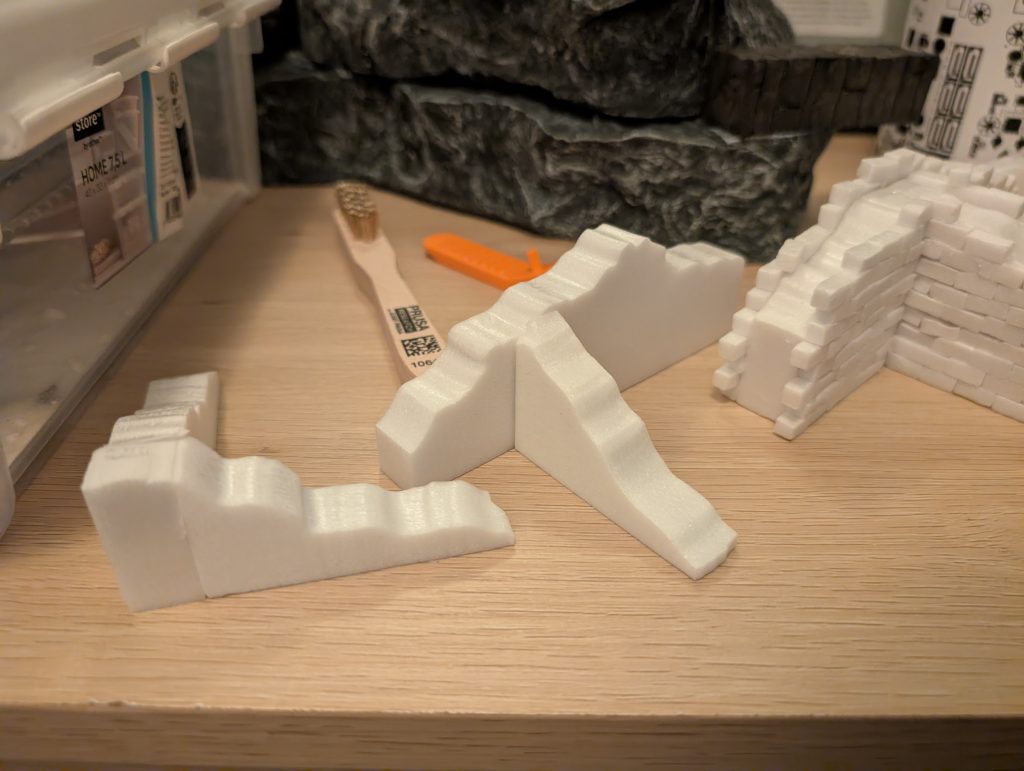
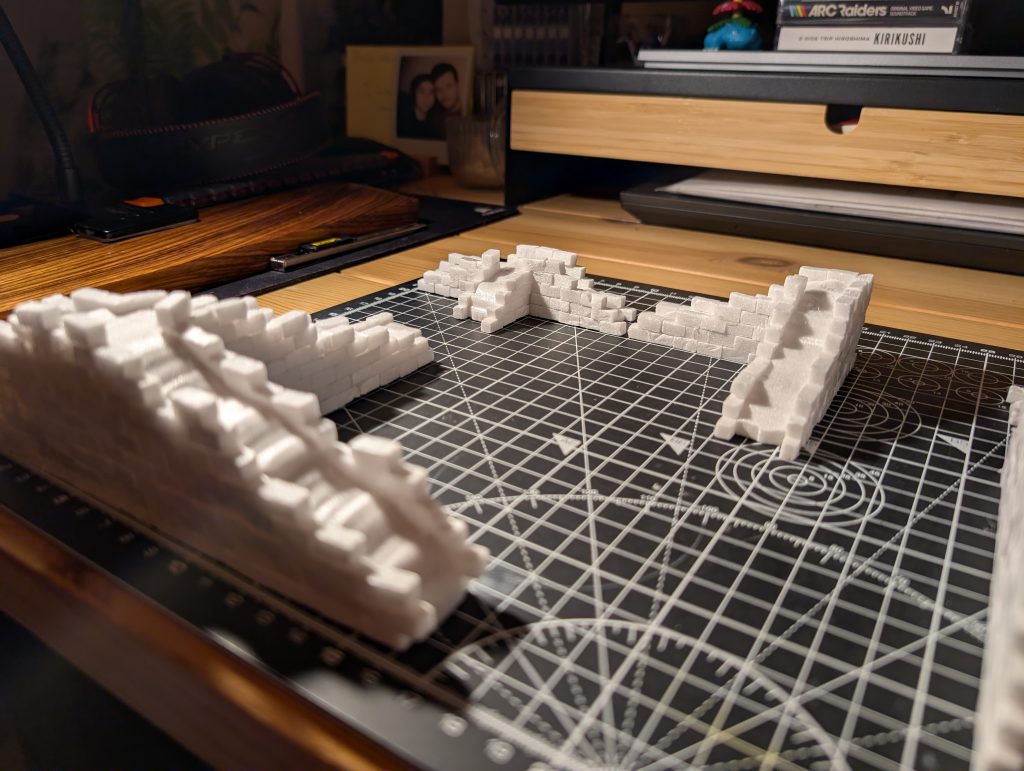
Once I had my rocks done, I tried my hand at creating ruins to imply more structured cover. For these I cut a supply of 5x5x10mm bricks (I might have gifted myself a Proxxon wire cutter to make the process easier…) and hot-glued them onto some rough-cut foam (perfect activity while watching Critical Role).
At this point Melissa had returned from her trip and was eager to help me paint these up. Another fun memory.
The response from the players to all these new elements was super exciting. New tactics formed during play, with verticality and cover playing a much larger role that they had before.
That’s when I pulled the trigger…
…and got myself a 3d printer.
I’d been on the fence for years, particularly because I didn’t feel very comfortable throwing even more plastic into this world. However I had found a targeted reason to get one, so I treated myself.
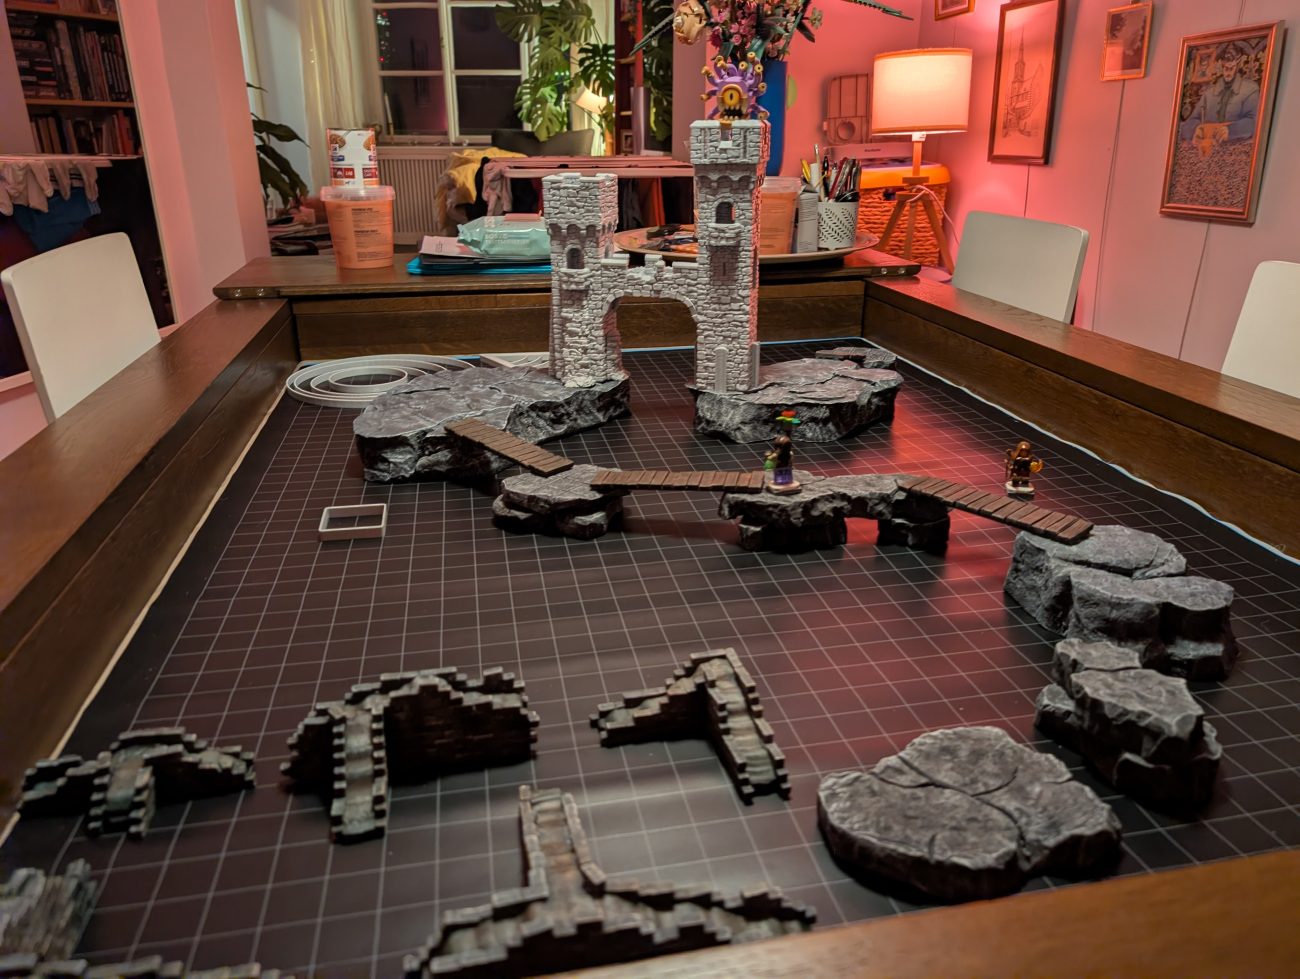
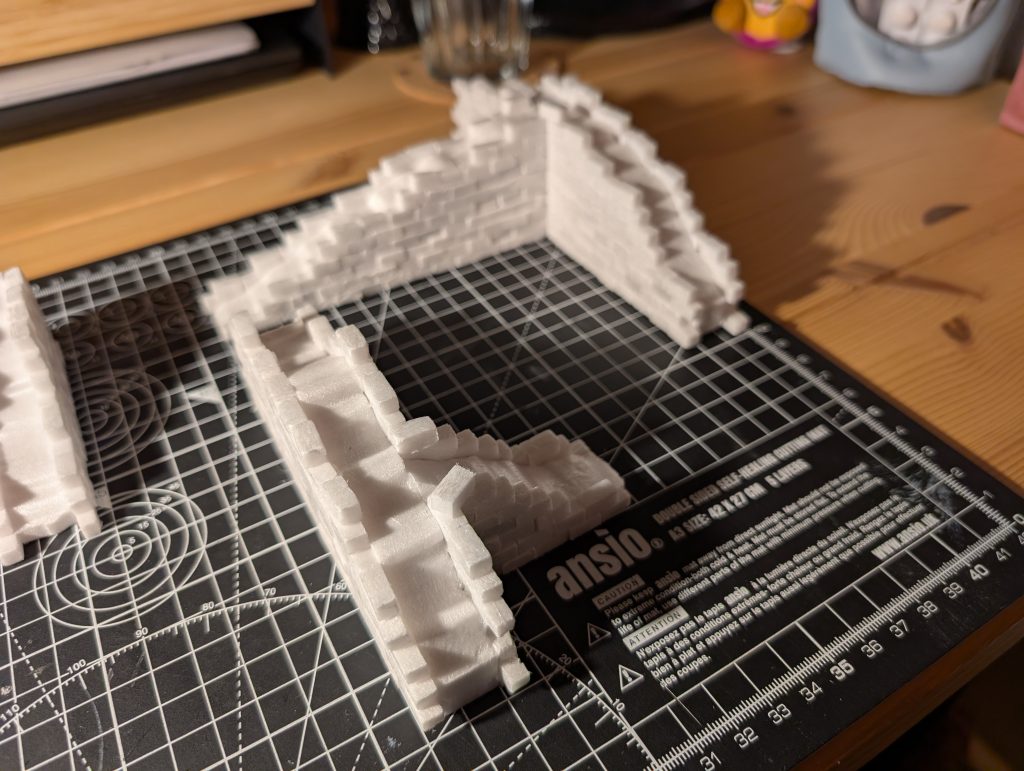
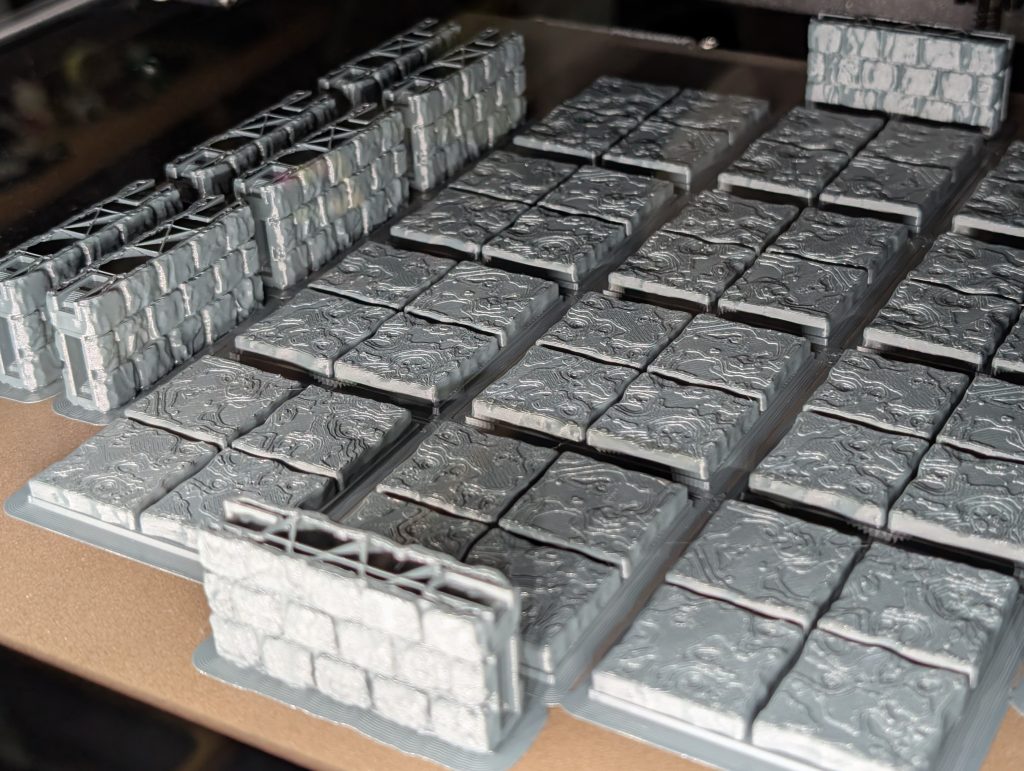
While researching, I came across two amazing projects, one being OpenForge helmed by Devon Jones – a modular terrain set, akin to DwarvenForge (but waaaay more affordable, at least for me as a European). Consisting of thousands of 3d-printable terrain tiles that are compatible with anything that uses the OpenLock system.
The other being Castle Hex by the same people who invented the OpenLock system. A fully modular, hexagonal castle system. Upon first sight I immediately purchased the entire campaign and went to printing…

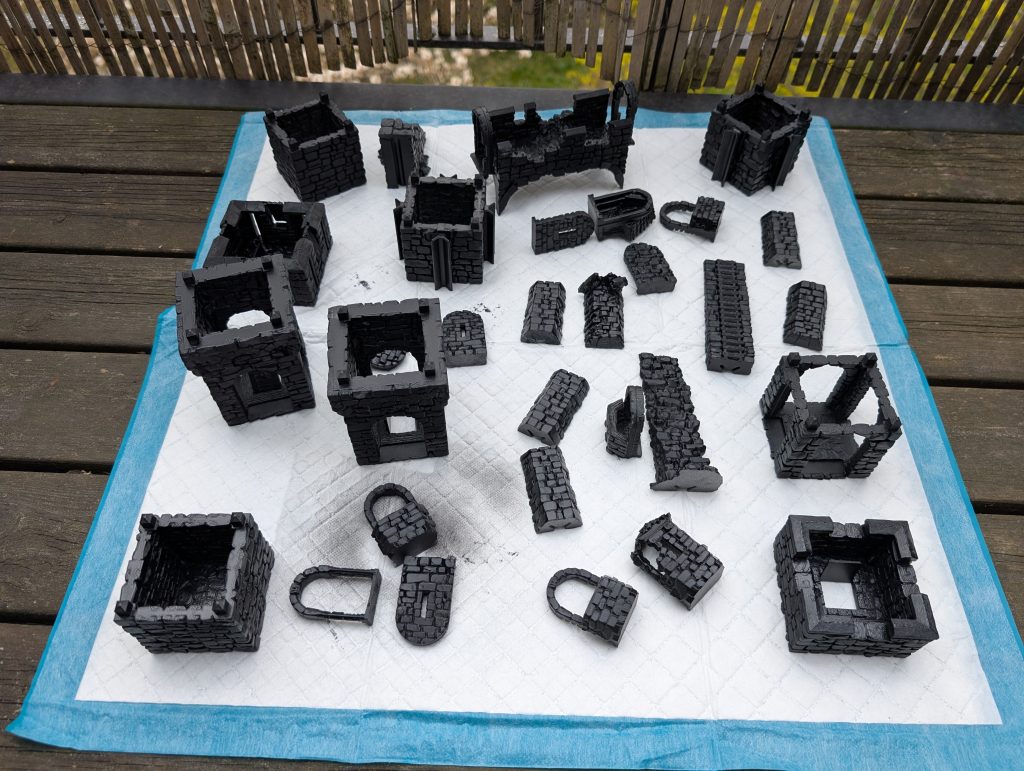
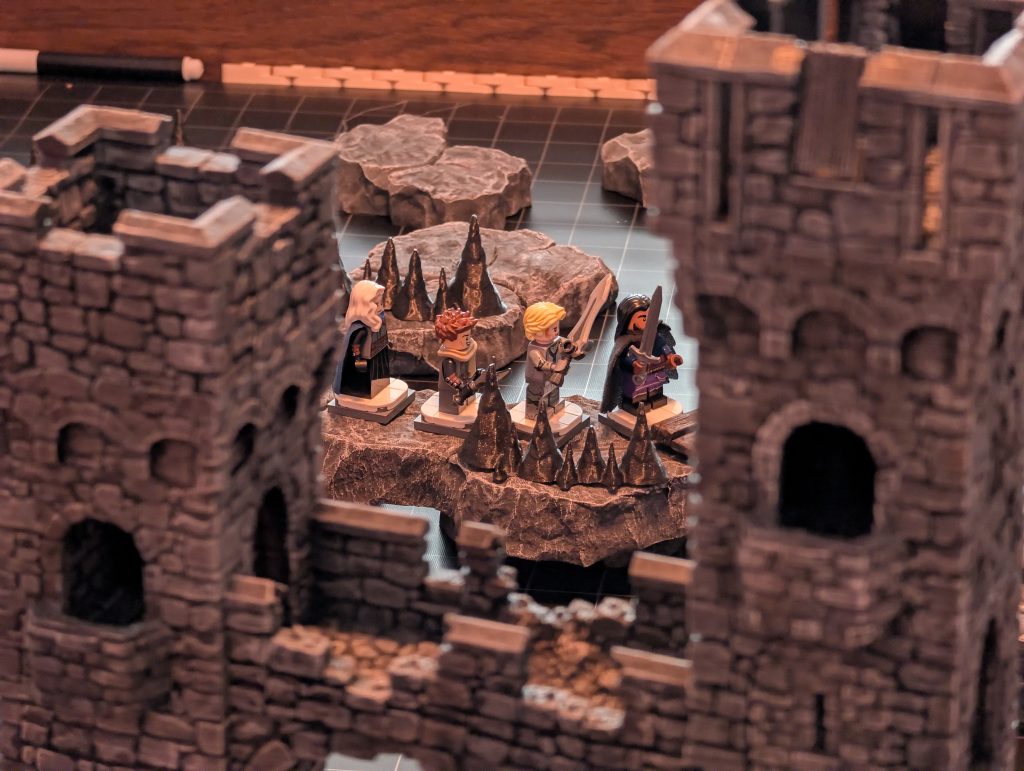

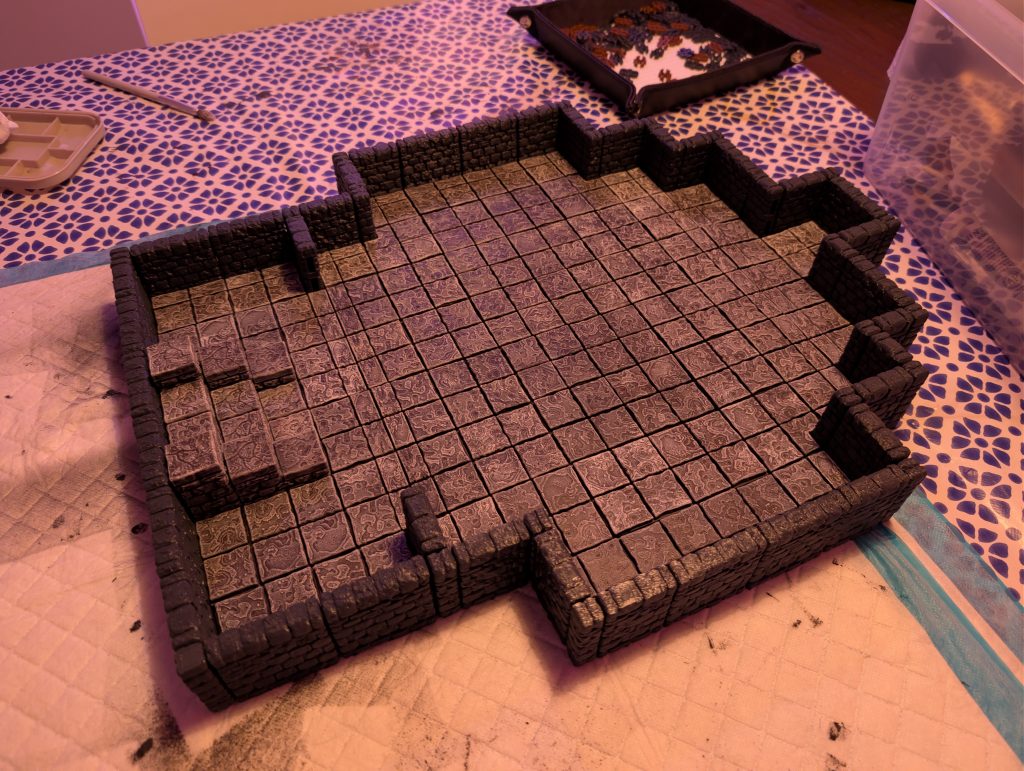

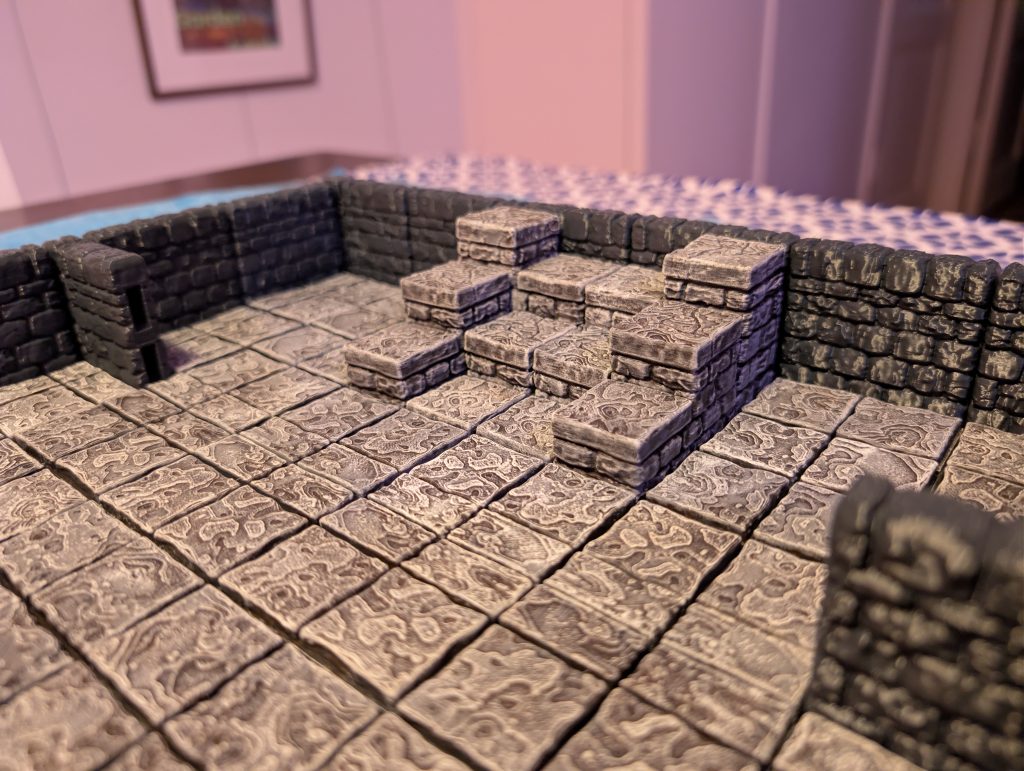
I’ve run two full sessions with these brand new elements (one of which was my first-ever full-day session – it was fantastic), and I’m glad to report the players loved it.
So! That is my first steps into terrain building for D&D. I’m sure I’ll use both 3d printing and XPS foam for several projects ahead, and I’m continuing to experiment with the different painting techniques and products available on the market.
I hope some of the resources and things I’ve shared in this post help someone else get started on this part of our hobby. I can certainly vouch for my personal enjoyment of it all.